

Click or Drop PNG/JPG/JPEG files here
Max 25 files / 20MB each / 20MPix each

Online DPI Enhancer / Changer
What is it?
This simple tool allows you to change the DPI (Dots Per Inch) value embedded in your images. This does not change the actual pixel dimensions or visual quality of the image, only the metadata tag that tells printers or software how densely those pixels should be rendered per inch.
What is the cost to use this tool?
This tool is free for basic use. Premium users benefit from higher batch processing limits, among other perks detailed on our Premium page. There are no other hidden fees or credit requirements for using this specific tool.
Understanding the Limitations
To ensure fair usage and optimal performance, the following limitations are in place:
- Batch Processing Limits:
- Freemium (non-premium) users: Up to 25 files per batch. This limit may be dynamically adjusted based on overall server load.
- Premium users: Higher fixed batch limits depending on their subscription tier (e.g., Supporter: 60 files, Fan: 80 files, Sponsor: 100 files, Partner: 120 files per batch). Please refer to the Premium page for specifics.
- Per-File Input Requirements:
- Supported formats: .jpeg, .jpg, and .png only. (Unfortunately, the .webp file format does not typically store DPI values, so it is not supported by this tool.)
- Maximum file size: 20MB (MegaBytes) per image.
- Maximum input image resolution: 20MPix (MegaPixels) per image (e.g., an image of 4000 pixels wide by 5000 pixels high).
How to use this tool
Follow these simple steps:
- 1) Drag and drop one or more images (up to your current batch limit, adhering to format, size, and dimension limits) into the designated drag-area.
- 1b) Alternatively, click on the upload icon within the drag-area to select images from your local computer.
- 2) If any errors occur with your files, an error message will explain the issue. Otherwise, proceed to the next step.
- 3) Once your files are accepted, a dropdown menu for selecting the DPI value will appear. (A brief visual effect where files are randomly displayed on the screen may occur; this is purely an effect.)
- 4) Choose your desired DPI value from the dropdown list. This selected DPI value will be applied to all images in the current batch. The default is 300 DPI, which is a common standard for many Print on Demand (PoD) services.
- 5) After selecting the DPI, click the large "Submit" button. Please wait a few moments while the files are uploaded. Upload time can vary depending on your internet connection speed. Important: Do NOT refresh or leave the page during the upload process, as this will cancel your job.
- 6) After a successful upload, a confirmation window will appear, indicating your task is queued:
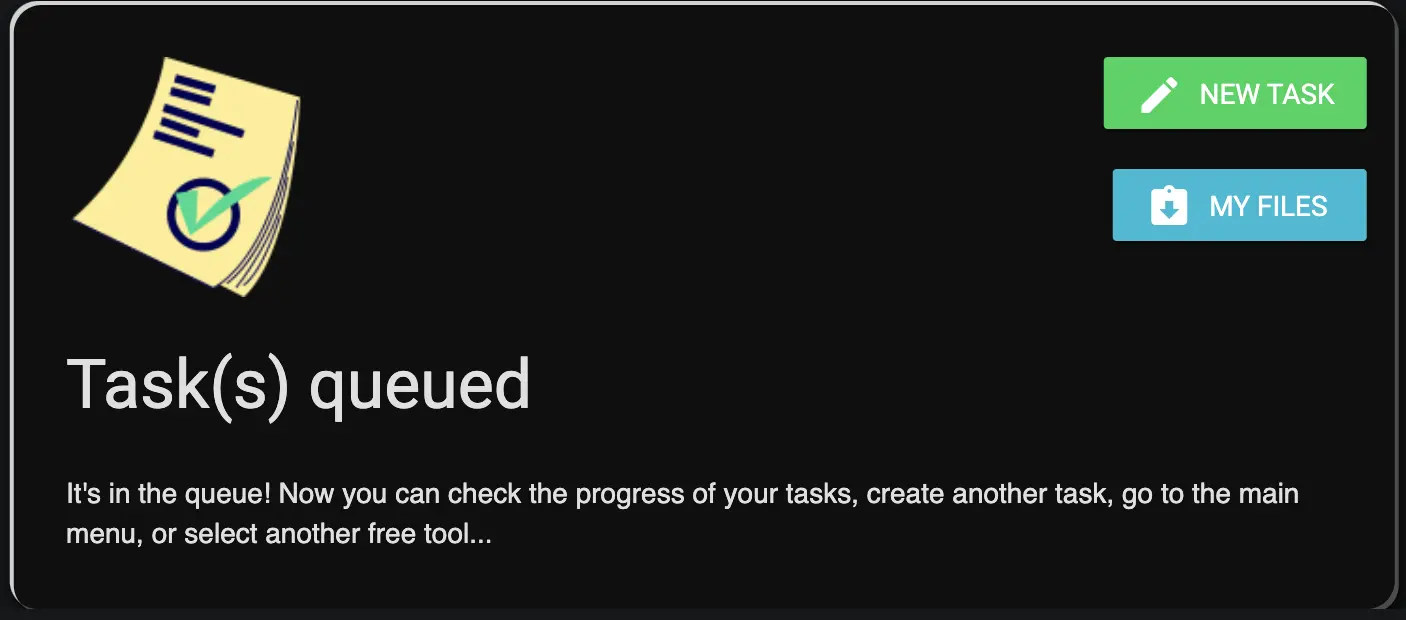
- 7) From this window, you can either add more files for DPI modification by clicking the "New task" button or check the status of your uploads by clicking the "My Files" button.
Frequently Asked Questions
Can I skip the queue or make it faster?
No. To ensure fairness for all users, we utilize a standard queue system, and no preferential treatment or paid acceleration options are offered for this tool.
I made a mistake and uploaded the wrong image. What can I do?
If you've uploaded an image incorrectly, you can remove it. Navigate to the "My Files" section and click the "trash bin" icon next to the relevant file to remove it from the queue.
Do I need to stay online on the website while my images are being processed?
No. The DPI modification process occurs entirely on our servers, so you do not need to keep the website open or remain online after your job is successfully queued.
How long are my modified files kept on the server?
Your files with the updated DPI are available for download for 24 hours from the time of their successful processing. Due to limited server disk capacity, we cannot store files beyond this period.
Can anyone else see or access my images?
Absolutely not. Your images are protected by security measures, and only you can access them through your session. These files are not visible even to site administrators. However, if you choose to share the download link with someone, they will also be able to download the files.
Will I have copyright for the images with modified DPI?
Yes. If you hold the copyright and commercial rights for the original images, you retain those rights for the versions with the modified DPI. You are free to use these images, including for commercial purposes, under the same terms as your original files.
Why Change the DPI of an Image?
The DPI (Dots Per Inch) value stored in an image file is metadata that instructs printing devices or software on how to scale the image for output. Changing this value can be important for several reasons:
- Meeting Print Requirements: Many Print on Demand (PoD) services and professional printers have minimum DPI requirements (e.g., 300 DPI) to ensure good print quality. If your image has a lower DPI metadata value, this tool can change it to meet these specifications.
- Web Optimization: For web use, images often have a DPI of 72 or 96. While modern browsers largely ignore DPI for on-screen display (relying on pixel dimensions), some older workflows or systems might still consider it. You can use this tool to set a lower DPI if desired, though this won't change the file size or visual quality on screen.
- Controlling Print Size: DPI directly relates pixel dimensions to physical print size (Print Size in Inches = Pixel Dimensions / DPI). By changing the DPI, you are effectively telling a printer to render the existing pixels larger or smaller, thus changing the physical output size without altering the pixel data itself.
Our free converter allows you to change the DPI metadata of your files. It's important to understand that this tool does not resample your image (it doesn't add or remove pixels). It only changes the DPI tag. If you need to increase the actual pixel resolution of an image, please use one of our Image Upscaler tools.
The time taken to change DPI depends on the number and size of your input images and server load, but typically, you will get your converted files relatively quickly.
But Wait, What is DPI?
DPI stands for "Dots Per Inch." It's a measurement that indicates the resolution of an image when printed, specifically the number of individual dots (or pixels) that a printer will place within one linear inch of paper. A higher DPI generally means more detail can be represented in each inch of the printed image, leading to a sharper, clearer print.
Why is DPI Important for Printing?
The DPI of an image is crucial for printing because it directly affects the physical size and perceived quality of the printed output.
- An image with low DPI (e.g., 72 DPI) printed large might appear blurry or pixelated because its existing pixels are spread out too far.
- An image with high DPI (e.g., 300 DPI or more) will have its pixels packed more densely, resulting in a crisper and more detailed print at an appropriate physical size.
How Do I Know What DPI My Image Is?
You can usually find the DPI of an image by checking its file properties or metadata.
- On most operating systems (like Windows or macOS), you can right-click an image file, select "Properties" or "Get Info," and look for details under a "Details" or "More Info" tab, which often includes horizontal and vertical resolution in DPI.
- Image editing software (like Photoshop, GIMP, etc.) will also display and allow you to change the DPI value (often referred to as "Resolution" in image size dialogues).